Ready to ditch the boring Valentine's Day nails and embrace a trend that's both romantic and effortlessly chic? Almond-shaped nails are the hottest shape for 2025, offering the perfect canvas for a dazzling array of designs. Whether you're a nail art pro or a total beginner, this guide will inspire you with fresh ideas and show you how to achieve these stunning looks. 💖
Reimagine Classic Romance: Beyond the Basic Red Heart ❤️
Let's be honest, classic red nails are timeless, but why settle for basic? This year, we're taking classic romance to the next level! Think of a deep, luxurious ruby red with a subtle gold glitter accent – luxurious and on-trend. Or, how about a vibrant cherry red punctuated with tiny, hand-painted hearts? Incredibly elegant and utterly charming. For a more subdued look, consider a sheer pink base with a delicate shimmer for a touch of understated sparkle.
Unexpected Hues: Stepping Outside the Valentine's Day Color Box 🌈
Feeling daring? This Valentine's Day, almond nails are all about unexpected color combinations. Ditch the predictable red and pink and embrace bold pairings! Imagine a soft blush pink contrasted with a sophisticated olive green – surprisingly chic! Or perhaps a deep burgundy accented with shimmering gold – a dramatic and unique statement. And for the truly adventurous, color-blocking creates a modern, geometric vibe that's both edgy and playful.
Glitter, Glam, and All That Shimmers: Sparkle and Shine! ✨
Glitter is your best friend when creating a Valentine's Day masterpiece! From subtle shimmer to dazzling sparkle, a little glitter instantly elevates your manicure. A beautiful glitter gradient, with lighter glitter near the base and heavier glitter towards the tips, is breathtaking. For maximum drama, go all out with chunky glitter or even tiny crystals – because why not? It’s Valentine’s Day!
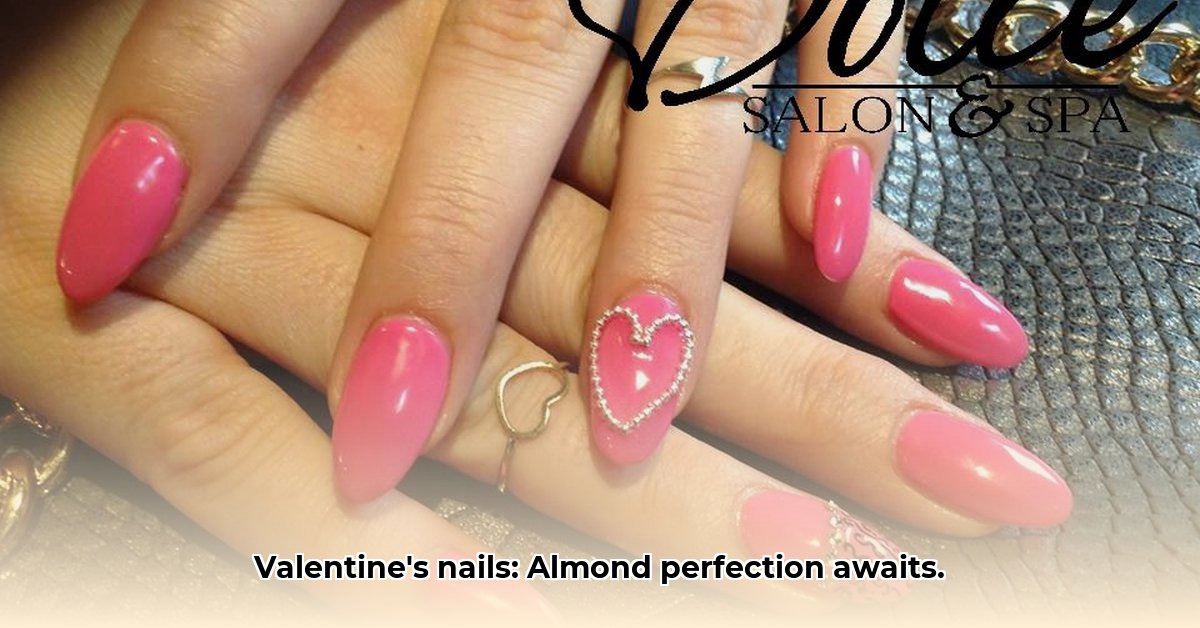
Minimalist Magic: Subtlety and Elegance 💅
Sometimes, less is more. If you favor understated elegance, try a single accent nail featuring a tiny heart or a delicate gold line. This sophisticated look is perfect for those who appreciate subtle beauty. A nude base with a single, strategically placed heart on just one nail can look incredibly chic and romantic.
DIY Delight: Easy Nail Art You Can Totally Master 🏡
Want to create these gorgeous designs yourself? Many adorable looks are surprisingly easy to DIY!
Simple Heart Design:
- Apply a base coat of your favorite color. Let it dry completely.
- Use a thin nail art brush (or even a toothpick!) to paint small hearts near the cuticle. Don't worry about perfection; a little imperfection adds charm!
- Finish with a top coat for a long-lasting manicure.
Glitter Accent Nail:
- Apply your base coat and let it dry.
- Use tape to create a design – partially cover one nail, then apply glitter polish to the uncovered sections.
- Carefully remove the tape before the polish dries.
- Finish with a top coat.
Pro Tip: For both designs, thin coats prevent smudging. Patience is key!
Shaping Your Almond Nails Like a Pro 📏
Achieving the perfect almond shape requires careful filing. If you're not experienced, a professional manicure is recommended to avoid damaging your nails.
Nail Inspiration from the Experts: Let's Get Social! 🤳
Social media is a goldmine of inspiration! Pinterest and Instagram are brimming with amazing nail art ideas. Search for "almond shaped Valentine's Day nails" and let the creativity inspire you!
Maintaining Your Fabulous Manicure: Tips and Tricks ✨
To keep your manicure looking its best, use a high-quality base and topcoat. Avoid harsh chemicals, and keep your nails moisturized to prevent breakage.
Step-by-Step Guide: Romantic Almond Heart Nails (DIY)
- Prep: Clean and shape nails into an almond shape. Push back cuticles.
- Base coat: Apply a thin layer and let it dry.
- Color: Apply two coats of your chosen base color (a soft pink or nude is ideal). Let dry completely.
- Accent nail: On one or two accent nails, create small, evenly spaced dots with a nail art pen in a contrasting color (dark red or gold).
- Connect: Gently connect the dots to form hearts.
- Topcoat: Finish with a top coat for shine and longevity.
This Valentine's Day, let your nails make a statement! Experiment with colors and designs, and most importantly, have fun! Happy Valentine's Day! ❤️